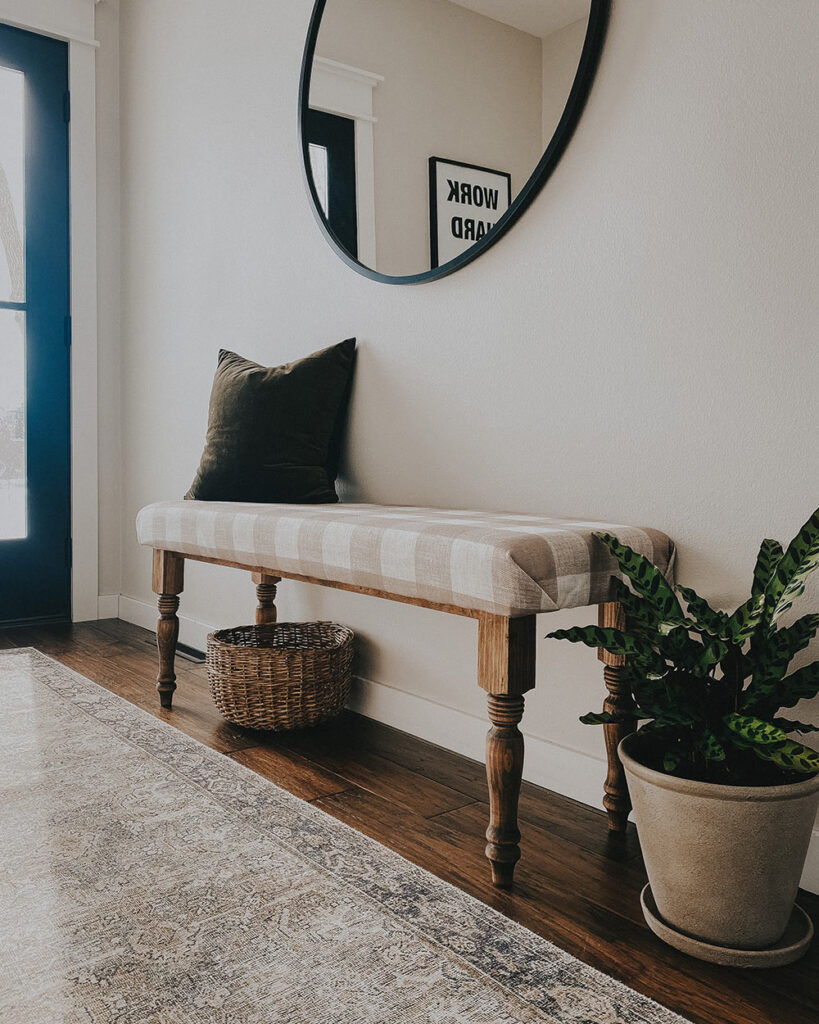
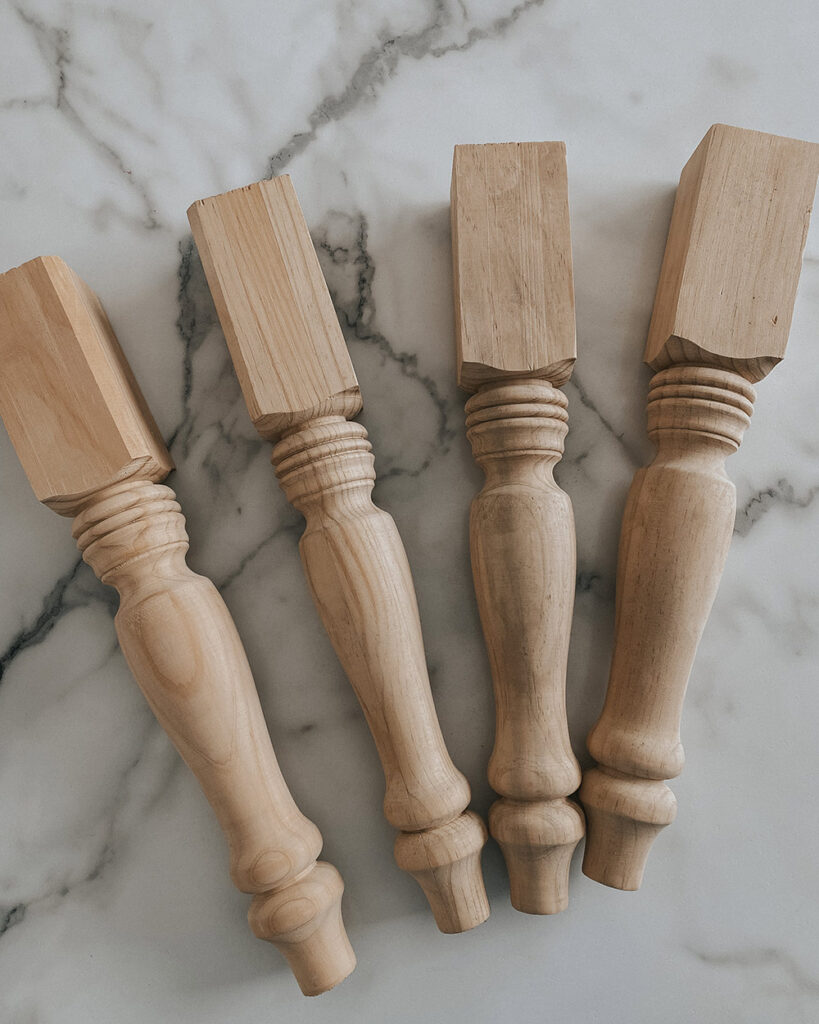
I love a functional bench for the home, and this DIY bench can be used in so many ways and in so many rooms. As part of The Home Depot DIY On-Trend Workshop, here are all the detailed steps so you can make one for your home. Everything you need to make this DIY bench from start to finish can be found at The Home Depot. To start making the bench, I cut down a ¾” piece of plywood to the dimensions for the bench: 48″ long by 15″ deep. After researching bench depths online I found that most are 15″ deep, so I went with that measurement. I used 4 of these round pine furniture legs which are the perfect height for a bench.
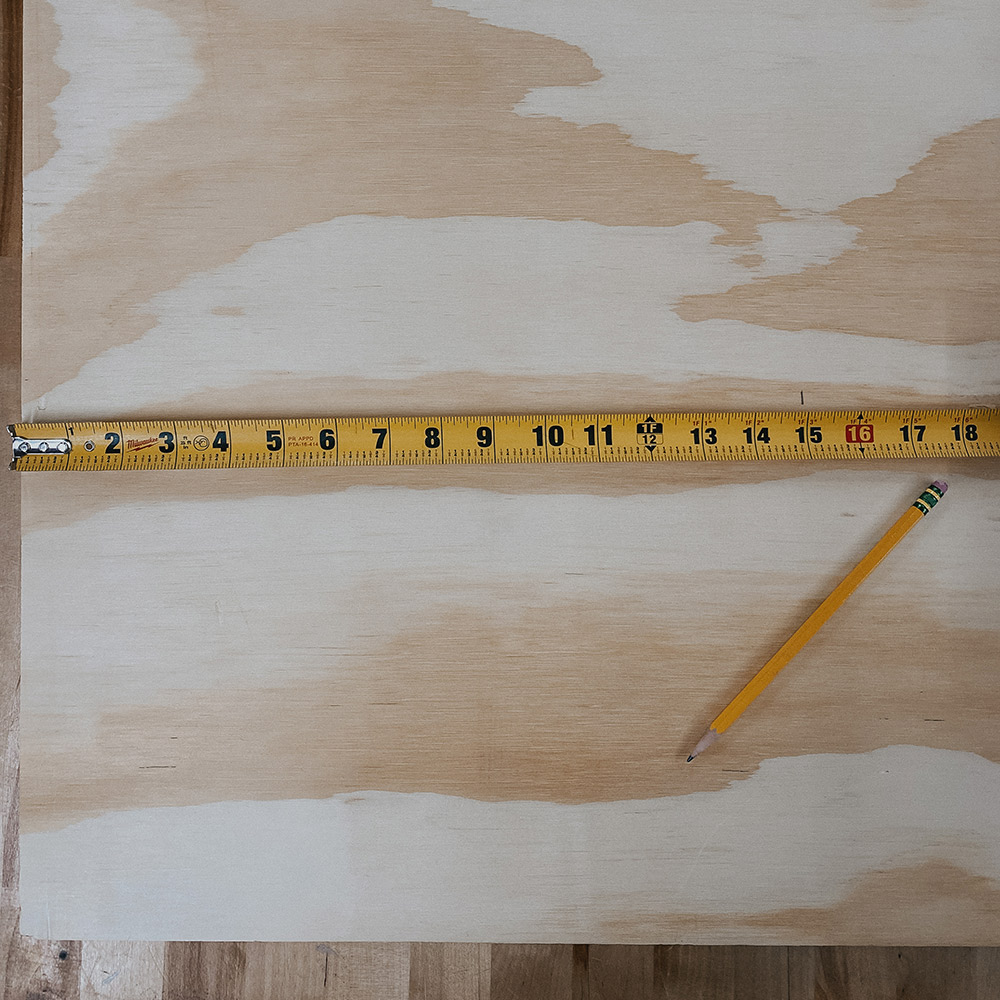
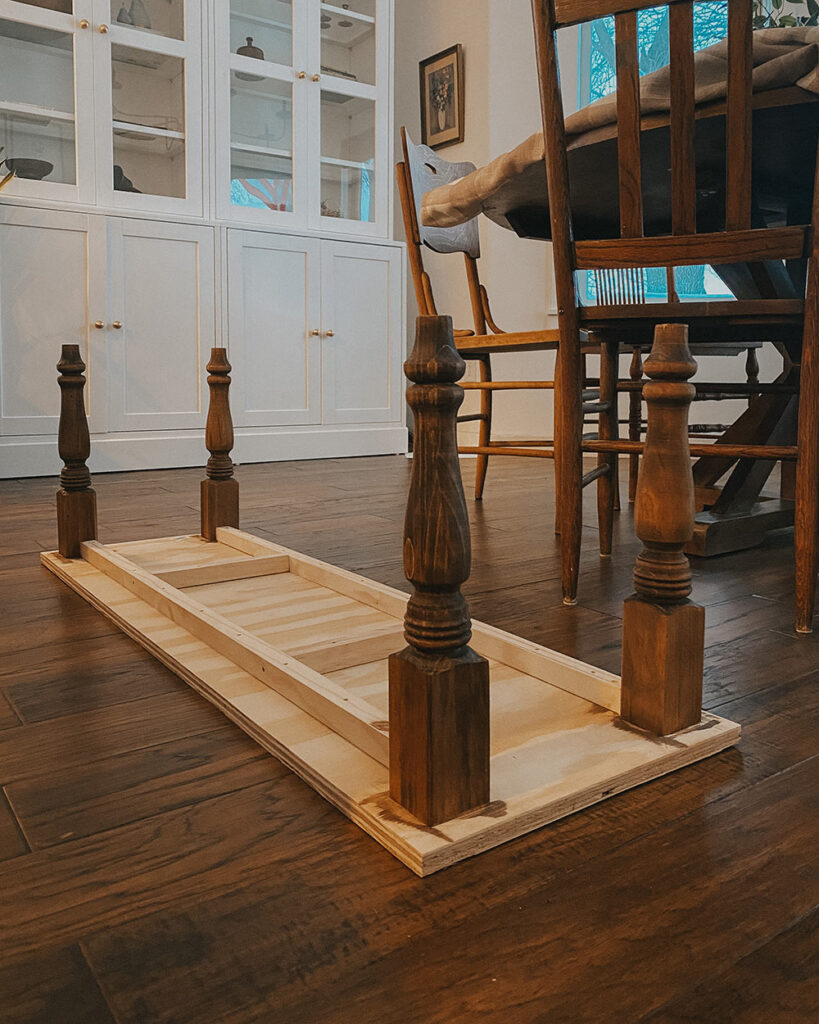
When attaching the legs, I moved them in 1″ from each side of the plywood. This will allow for enough room to wrap my fabric to the underside of the bench and staple it in place. I used a quick square to find the center after moving in 1″ from each corner.
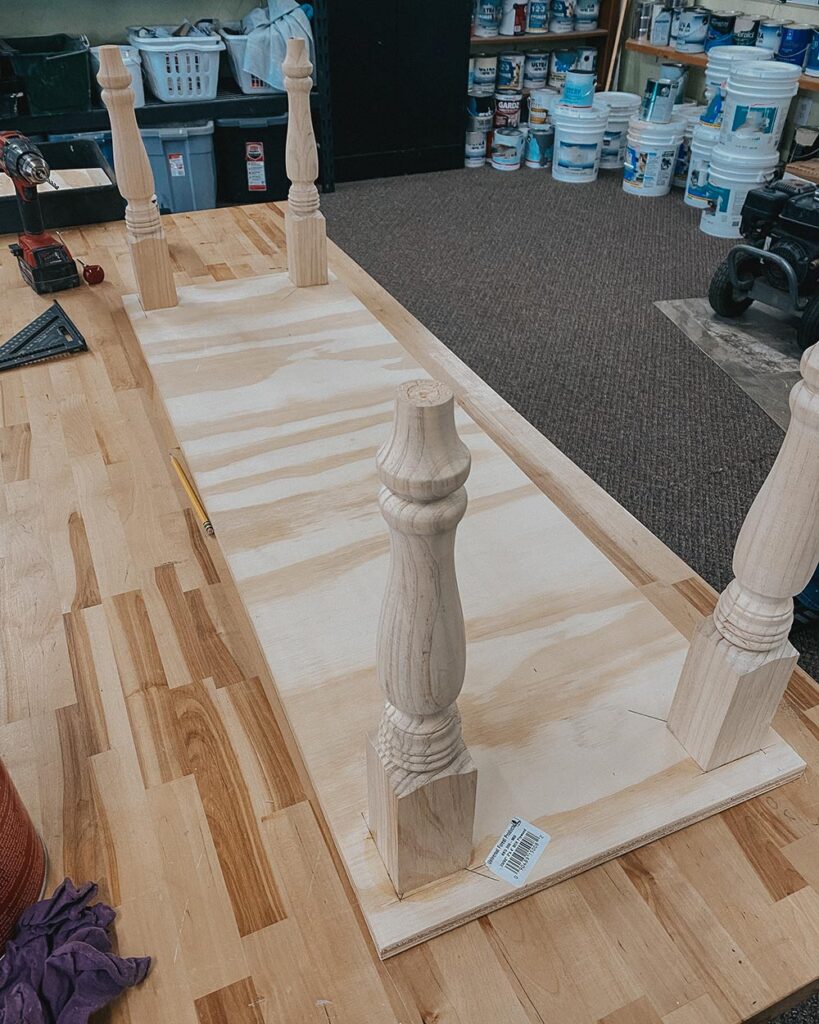
Then I pre-drilled holes, added some wood glue to each leg, and screwed the legs into place. I decided to attach the legs first to have an easier foundation when applying the stain. I also ended up reinforcing the bottom by adding some 1″x1″ strips of pine that were left over from our stair project. Before staining the legs, I added a pre-stain wood conditioner. Pre-stain wood conditioner helps prevent blotchiness and is great to use on soft or porous woods, like these pine legs. I let the wood conditioner sit for 5 minutes and then wiped it dry with a cloth. I wanted the legs to have a rich, brown stain color, so I chose the colorProvincial by Varathane. I applied the stain with a foam brush and let it sit for 5 minutes before wiping off the excess. Just don’t let the stain dry completely before wiping it off. I love the color-it is exactly what I was going for.

I chose a piece of 3″ multi-purpose foam as the cushion for the bench. I cut the foam down to size. At first, I left a slight overhang on the foam, but decided to keep it flush with the plywood after all. In the end, keeping the foam flush with the wood helped create a smoother finish when wrapping my “fabric” around the bench. Once your foam is cut to size, apply some spray adhesive to the top of the bench. This will help adhere the foam to the plywood and will keep your bench cushion in place.
I love being able to repurpose things in unique ways, so I decided to use this curtain panel as my fabric for the bench. I love a good buffalo-check print and the tan color of the curtain panel will go well with my home’s aesthetic.
I cut the fabric to size and laid it over top of the bench to line up my pattern. I will say that having a buffalo check pattern that goes both vertical and horizontal made it more difficult to line up the pattern. A solid fabric would be so much easier, but I like a challenge and I loved the pattern too much to choose a solid fabric. Once the pattern was in place, I used a little bit of the spray adhesive underneath the bench where I would staple the fabric underneath. The spray adhesive helped hold my fabric pattern in place so I could easily flip the bench upside down to start stapling. I stapled the curtain panel fabric in place using a staple gun. The corners gave me a little trouble, but I just kept folding and stapling until I was happy with the look.

I am so excited with how this bench turned out. I absolutely love the dark, rich color of the stained legs with the pattern of the curtain panel. This is a versatile DIY bench and can be modified to any desired length you need for your space. You could also paint the legs a fun color, too! I styled the bench in a few places around my home and now I can’t decide where to put it! Entryway, living room, or bedroom? Where do you like it best?
